


.png&blockId=233b25f2-a01f-80e8-bd62-d89a6c8d47e7)

Overview
Cochl.Sense API를 다양한 API와 함께 사용하여 나만의 자동화 툴을 만들어 볼 수 있습니다!
특히 Closed Caption 생성에 엄청난 강점을 가지고 있는데요, 이 Playbook을 통해 여러 Public API와 함께 자동화된 Closed Caption 생성 도구를 직접 만들어 보세요
준비물: Cochl.Sense, HuggingFace, Python을 실행시킬 수 있는 환경과 컴퓨터
준비물: Cochl.Sense, HuggingFace, Python을 실행시킬 수 있는 환경과 컴퓨터 시작하기에 앞서
이번 플레이북을 진행하기 위해서는 위에 언급된 준비물이 필요합니다. 한 단계 씩 차근차근 따라해보세요!우선, Cochl.Scribe(자동 자막 생성기)를 만들기 위해서는 사람 대신 판단을 내릴 수 있는 AI 모델이 필요합니다. 하지만, 실제로 집에서 AI를 학습시키기 위한 GPU를 가지고 계신 분들은 많지 않을 것입니다. 하지만, 세상에는 사전 학습이 되어 있고, 성능이 뛰어난 다양한 모델 API들이 존재하고, 이를 잘 활용한다면 본인이 원하는 결과를 만들어 낼 수 있습니다. 오늘 사용하게 될 Cochl.Sense 또한 오픈소스 API 중 하나입니다.
이번 Playbook에서는 직접 학습 시키지않고, 오픈된 모델 API들을 활용하여 인물들의 대사, 감정, 흘러나오는 주변 소리까지 다 포함된 저희만의 자동 자막 생성기를 만들어 볼게요!

HuggingFace를 활용한 제작 환경 세팅
본 플레이북 가이드에서는 Cochl.Sense와 함께 활용할 API를 HuggingFace에서 불러왔습니다.
0. HuggingFace란 뭘까요?
HuggingFace는 사전 학습된 여러 AI 모델을 API 형태로 활용할 수 있도록 해주는 AI 커뮤니티로서, 모든 사람들에게 무료로 개방되어 있는 점이 특징입니다.

여기에서 원하는 API를 가져오기 위해서는 로그인 후, Access Token을 발급받아야 합니다.
1. Access Token 발급
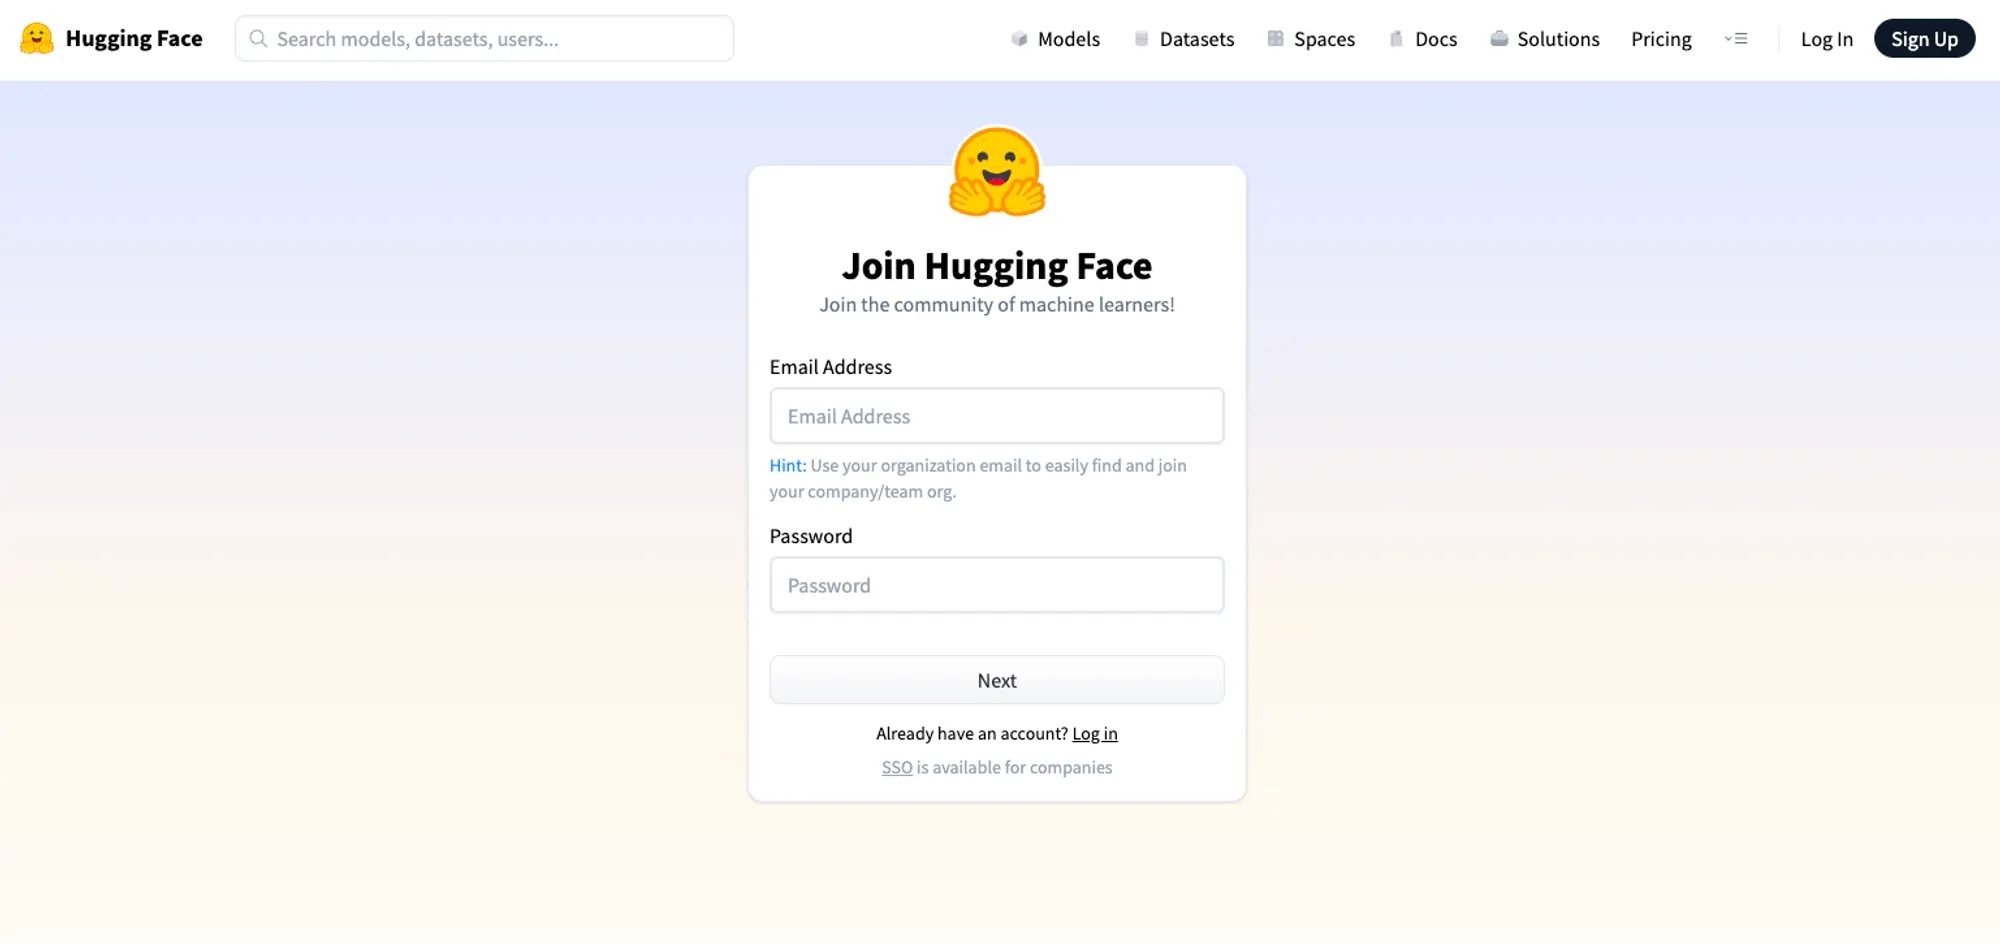
1. HuggingFace에서 모델 API를 사용하기 위해서는 HF Access Token을 발급받아야 합니다. 그러기 위해서는 HuggingFace 홈페이지로 이동 후 우측 상단의 Sign Up을 눌러 회원가입을 합니다.
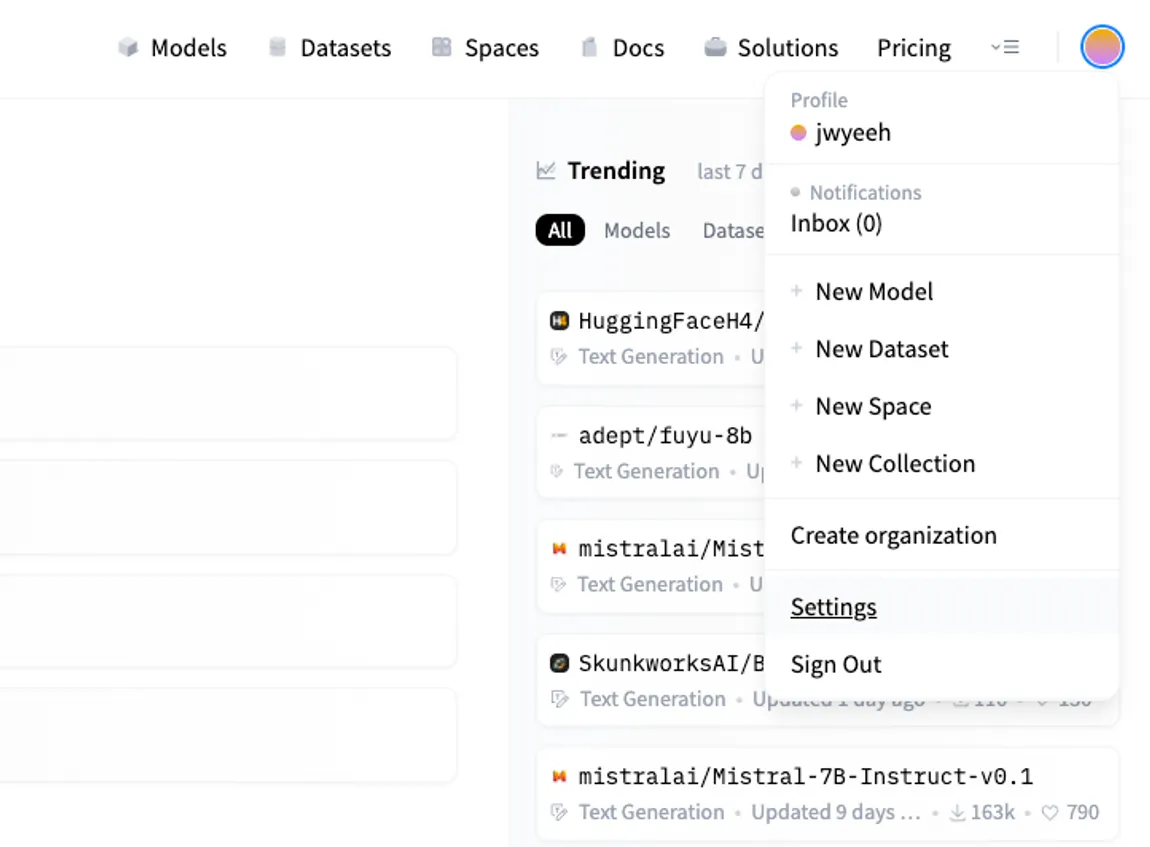
2. 회원가입 후 우측 상단 프로필을 클릭해 Settings로 들어갑니다.
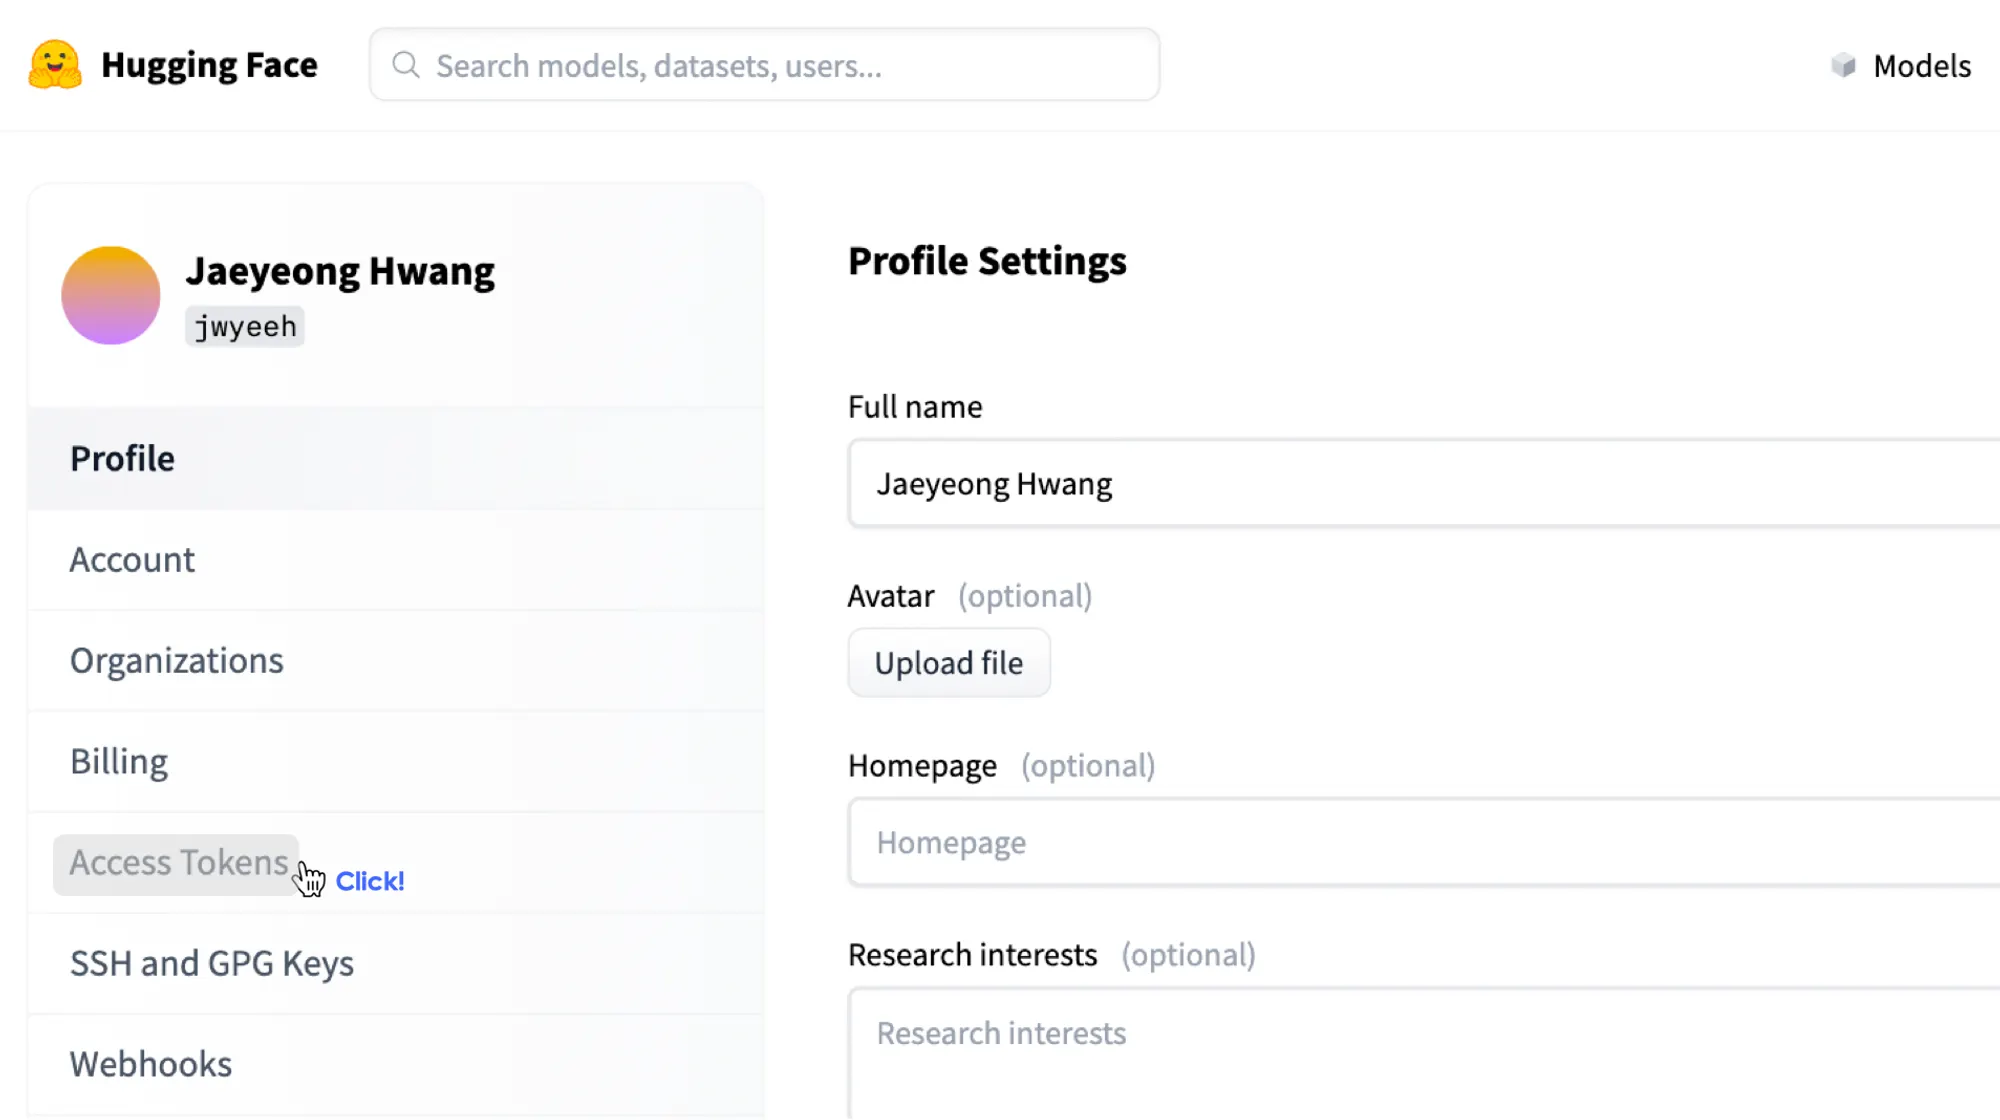
3. Settings에서 Access Tokens를 클릭합니다.
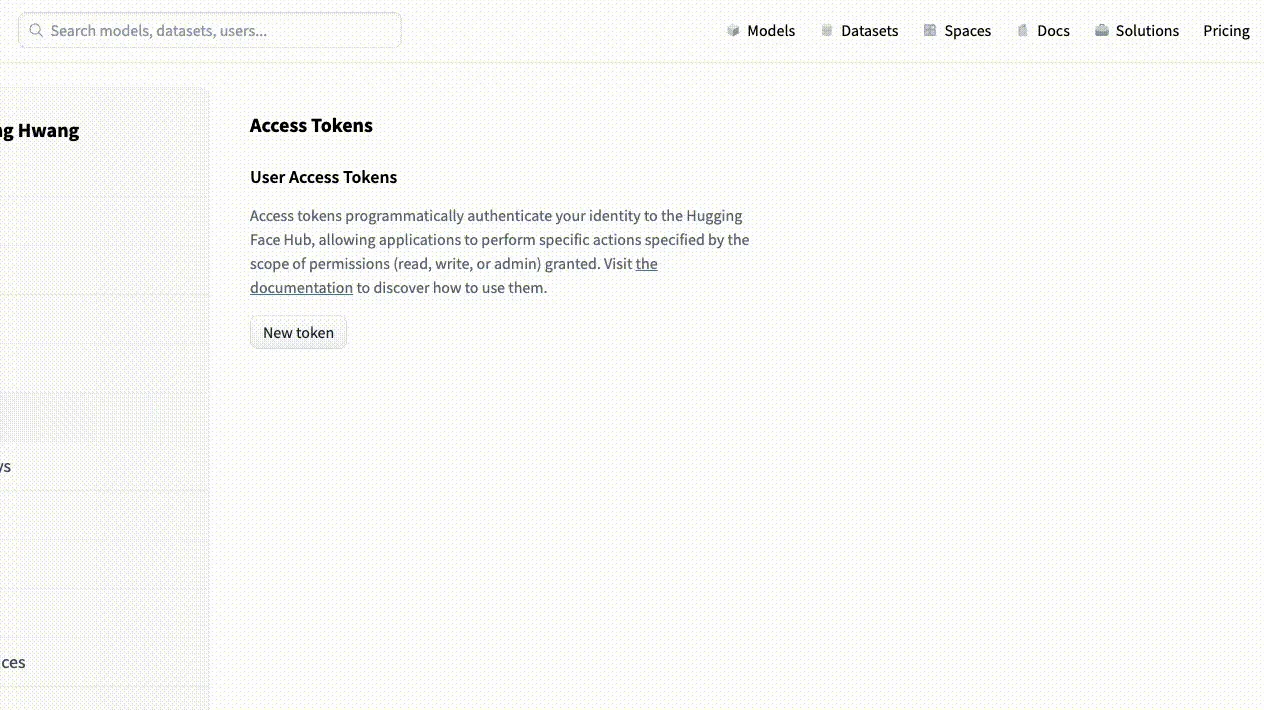
4. 해당 Access Token 배너에서 User Access Tokens를 생성 후 복사합니다. 해당 User Access Token은 추후 사용할 모델의 결과를 불러올 때 사용될 예정입니다.
2. HuggingFace 활용 환경 구성하기
1.이제 HuggingFace 모델을 활용하기 위한 환경을 구성해보겠습니다. 먼저, 파이썬 환경에서 transformers 라이브러리를 설치해줍니다.
pip install transformers
Bash
복사
3. 사용하고자 하는 모델 선택
이제 사용하고자 하는 모델의 API를 선택 후 가져와야 합니다. 아래 과정을 통해 저희는 자동 발화 인식 모델인 WhisperX API와 화자 감정 인식 모델인 SpeechBrain API를 사용하려고 합니다. 그 중 SpeechBrain API를 예시로 들어, 모델을 선택하고 가져오는 방법을 보여드릴게요. 아래 과정을 따라와주세요!
1. 우선 검색창에 Speechbrain emotion을 검색해줍니다.

2. 이 중 원하는 모델을 클릭한 후, 아래 가이드라인을 통해 모델을 활용할 수 있습니다.
우리가 사용하고자 하는 SpeechBrain의 라이브러리를 설치해줍니다. 이 때 수정 가능한 형태로 받지 않아도 상관은 없지만, git에서 직접 설치하는 것이므로 수정 가능한 형태로 받아줍니다.
git clone https://github.com/speechbrain/speechbrain.git
cd speechbrain
pip install -r requirments.txt
pip install --editable .
Bash
복사
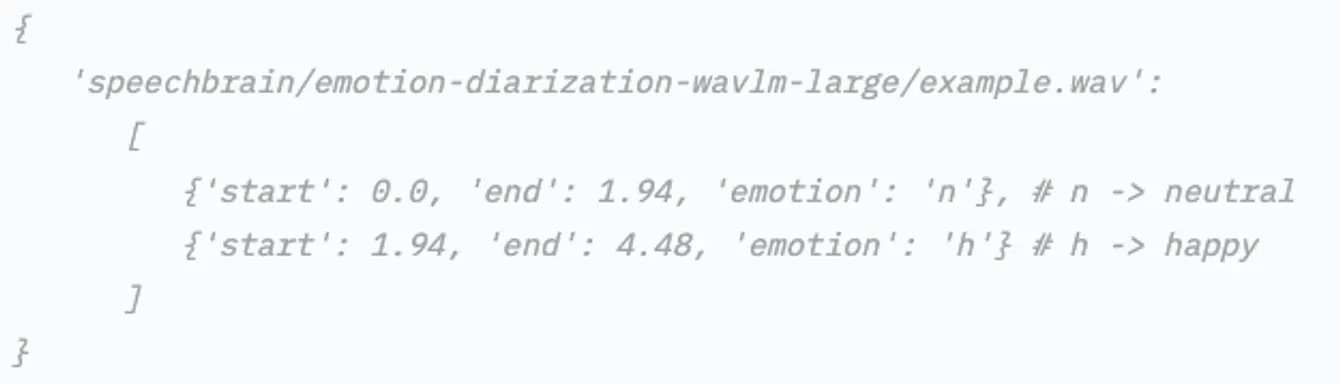
3. 이제 잘 설치 되어 있는지 살펴봅시다!
해당 플레이북에서는 emotion-diarization-wavlm-large를 활용하여 모델 결과를 받아오도록 하겠습니다. 아래의 Python 예제 코드를 실행시켜 결과를 확인해보세요!
from speechbrain.pretrained.interfaces import Speech_Emotion_Diarization
# classifier 모델
classifier = Speech_Emotion_Diarization.from_hparams(
source="speechbrain/emotion-diarization-wavlm-large"
)
# 예시 파일을 통한 결과 확인
results = classifier.diarize_file("speechbrain/emotion-diarization-wavlm-large/example.wav")
# 결과 보여주기
print(results)
Python
복사
아래와 같은 결과가 나왔다면 정상적으로 준비가 끝났습니다
WhisperX API 준비
다음으로 WhisperX API를 준비해봅시다. WhisperX API는 자동 발화 인식 모델로서, 화자의 말을 텍스트로 변환해주는 모델 중 하나입니다. 특히, 단어 단위로 timestamp를 제공한다는 점에서 더 정확한 자막을 만들 수 있습니다.
1. WhipserX 환경 준비
1. 먼저 WhisperX github 페이지에 들어가서 아래 가이드라인을 따라 설치해줍니다. 가이드라인은 아래의 커맨드를 따라주세요.

이번 플레이북에서는 해당 모듈에 대한 수정을 하지 않을 것이기에 pip를 통해 설치해줍니다.
pip install git+https://github.com/m-bain/whisperx.git
Bash
복사
2.이를 활용하기 위한 예제 코드는 아래와 같습니다. 예제 코드를 적용한 후, 실행 결과가 올바르게 나왔다면 자동 자막을 만들기 위한 준비는 완료되었습니다.
import whisperx
import gc
device = "cuda"
audio_file = "audio.mp3"
batch_size = 16 # reduce if low on GPU mem
compute_type = "float16" # change to "int8" if low on GPU mem (may reduce accuracy)
# 1. Transcribe with original whisper (batched)
model = whisperx.load_model("large-v2", device, compute_type=compute_type)
audio = whisperx.load_audio(audio_file)
result = model.transcribe(audio, batch_size=batch_size)
print(result["segments"]) # before alignment
# delete model if low on GPU resources
# import gc; gc.collect(); torch.cuda.empty_cache(); del model
# 2. Align whisper output
model_a, metadata = whisperx.load_align_model(language_code=result["language"], device=device)
result = whisperx.align(result["segments"], model_a, metadata, audio, device, return_char_alignments=False)
print(result["segments"]) # after alignment
# delete model if low on GPU resources
# import gc; gc.collect(); torch.cuda.empty_cache(); del model_a
# 3. Assign speaker labels
diarize_model = whisperx.DiarizationPipeline(use_auth_token=YOUR_HF_TOKEN, device=device)
# add min/max number of speakers if known
diarize_segments = diarize_model(audio)
# diarize_model(audio, min_speakers=min_speakers, max_speakers=max_speakers)
result = whisperx.assign_word_speakers(diarize_segments, result)
print(diarize_segments)
print(result["segments"]) # segments are now assigned speaker IDs
Python
복사
Cochl.Sense API 프로젝트 준비
1. Project key 발급
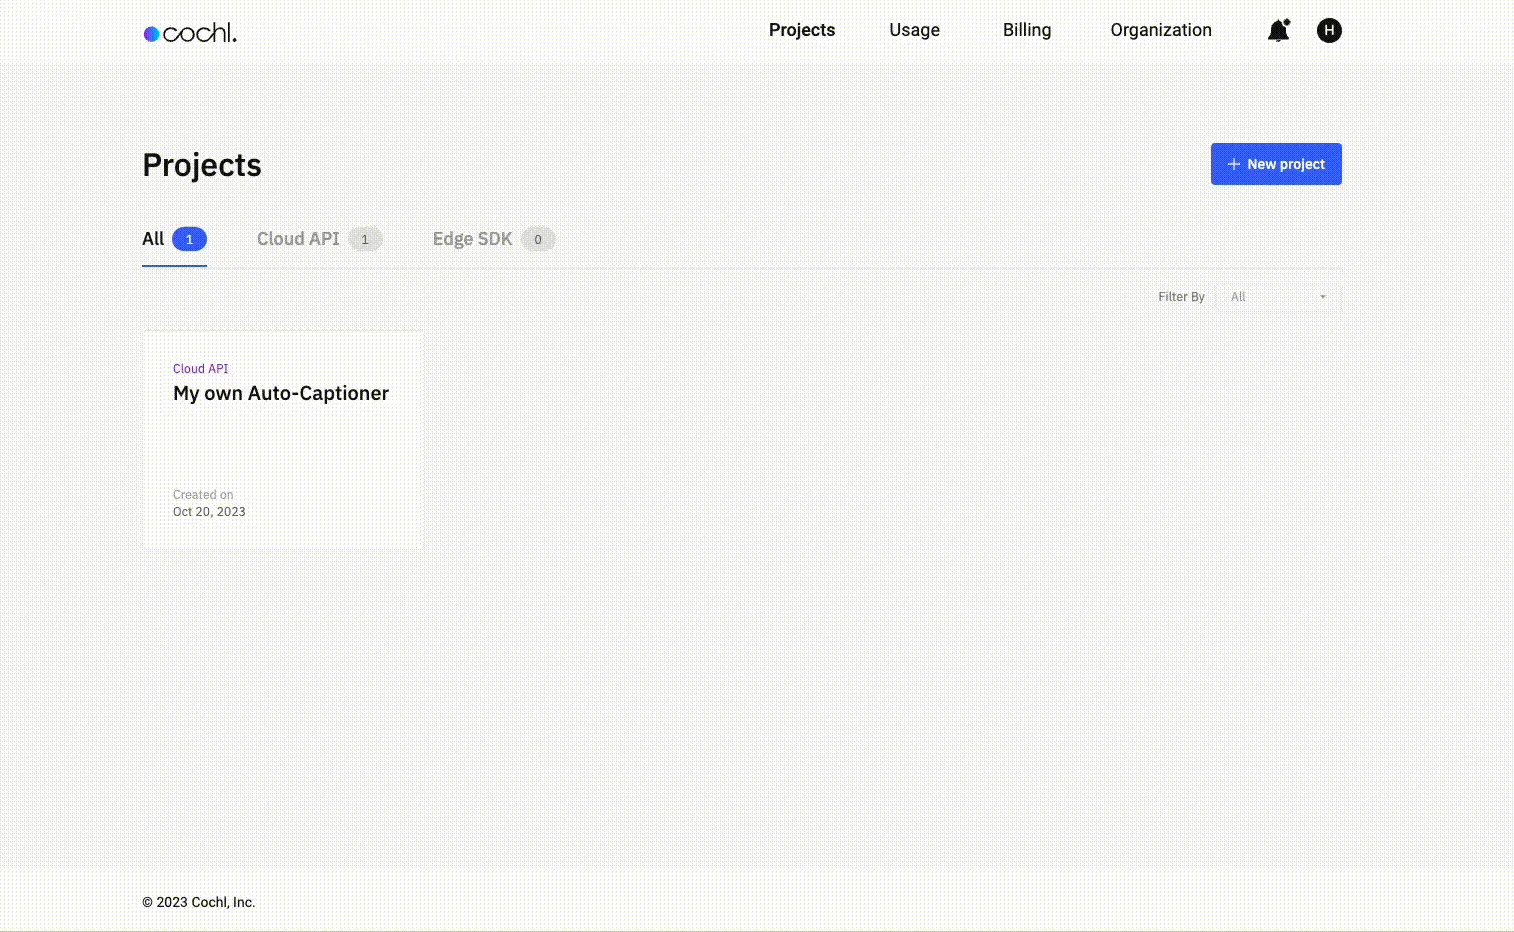
1. Cochl.Sense API를 사용하기 위해서는 대시보드를 통해 project key를 발급받아야 합니다. 우선 Cochl Dashboard로 이동해 회원가입을 해줍니다.
최초 가입 시 Free Plan 유저로 Cochl.Sense API를 20분 간 무료로 사용할 수 있습니다
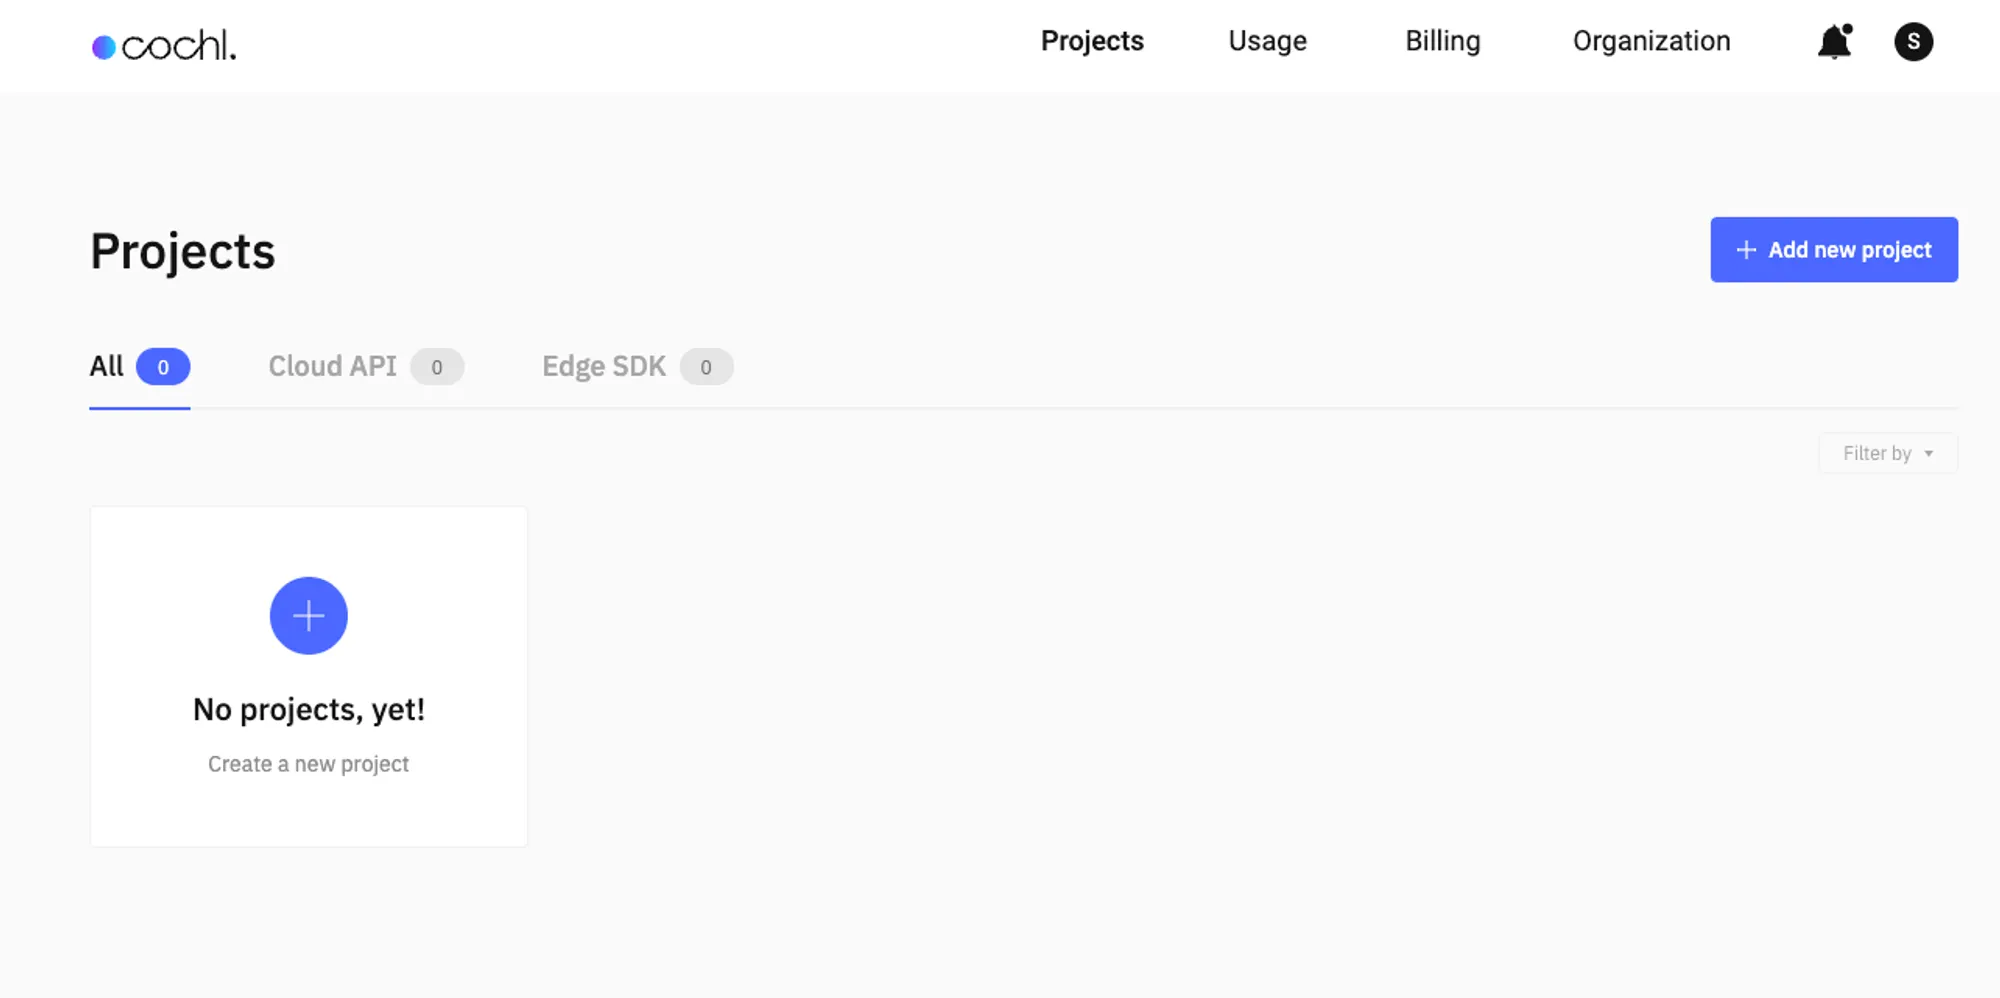
2. 회원 가입 후 이메일 인증을 완료하면 다음과 같은 대시보드 화면을 볼 수 있습니다.
3. [Add new project] 버튼을 눌러 Cloud API 프로젝트를 생성합니다. Dashboard에 나와 있는 Cloud API는 Cochl.Sense API와 동일한 개념입니다.
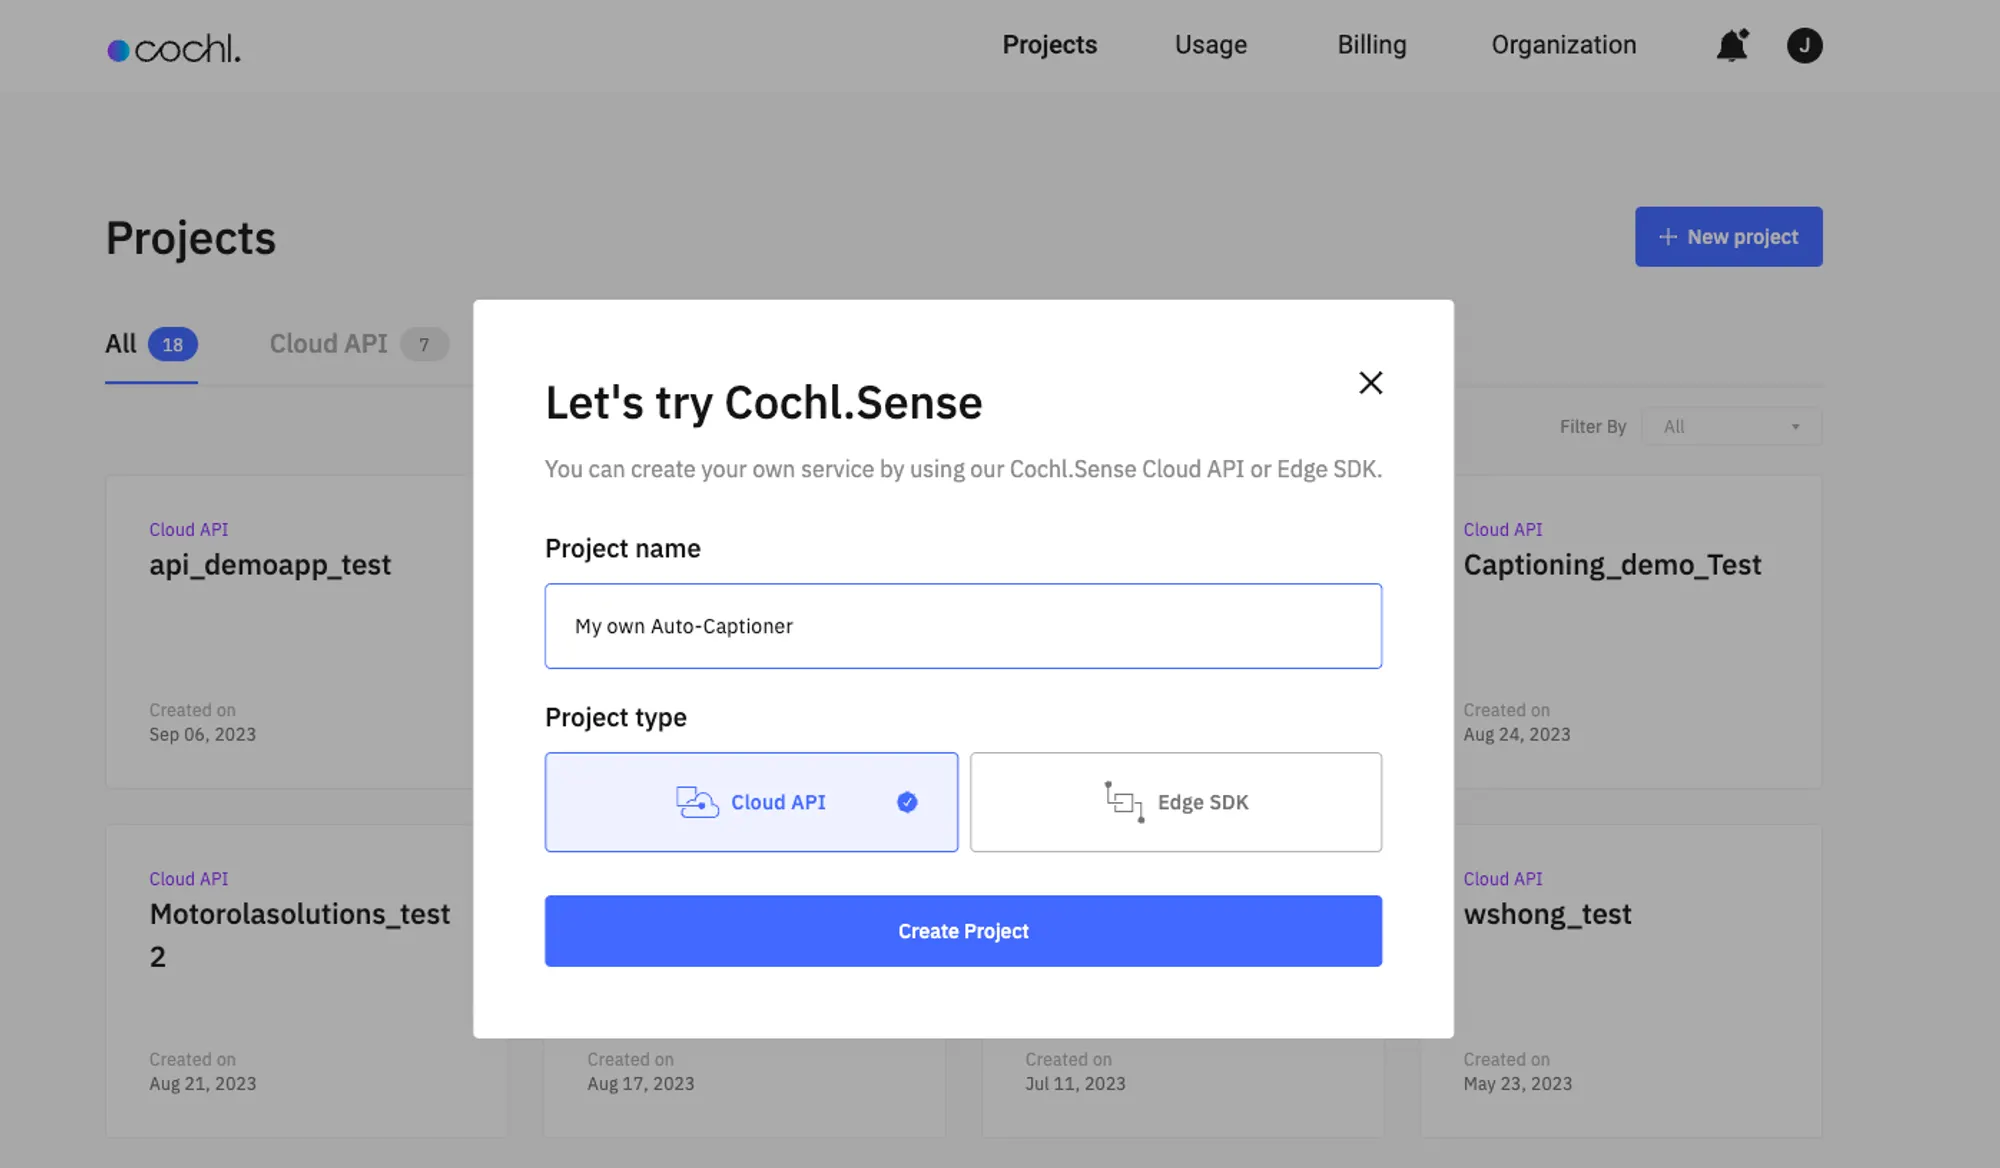
4. 생성한 프로젝트의 project key를 확인 후 복사합니다. 이 project key는 아래의 Cochl.Sense API 코드에서 사용됩니다.
Cochl.Sense HuggingFace WhisperX API 활용 방법
이제 모든 준비는 끝났습니다! 본격적으로 나만의 간단한 자동 자막 생성기를 만들어보려고 하는데, 그 전에 모델 API에서 나온 결과들을 어떻게 처리 할 수 있는지 확인해 봅시다.
이번 Playbook에서 보여질 결과물의 최종 파이프라인은 아래와 같습니다.
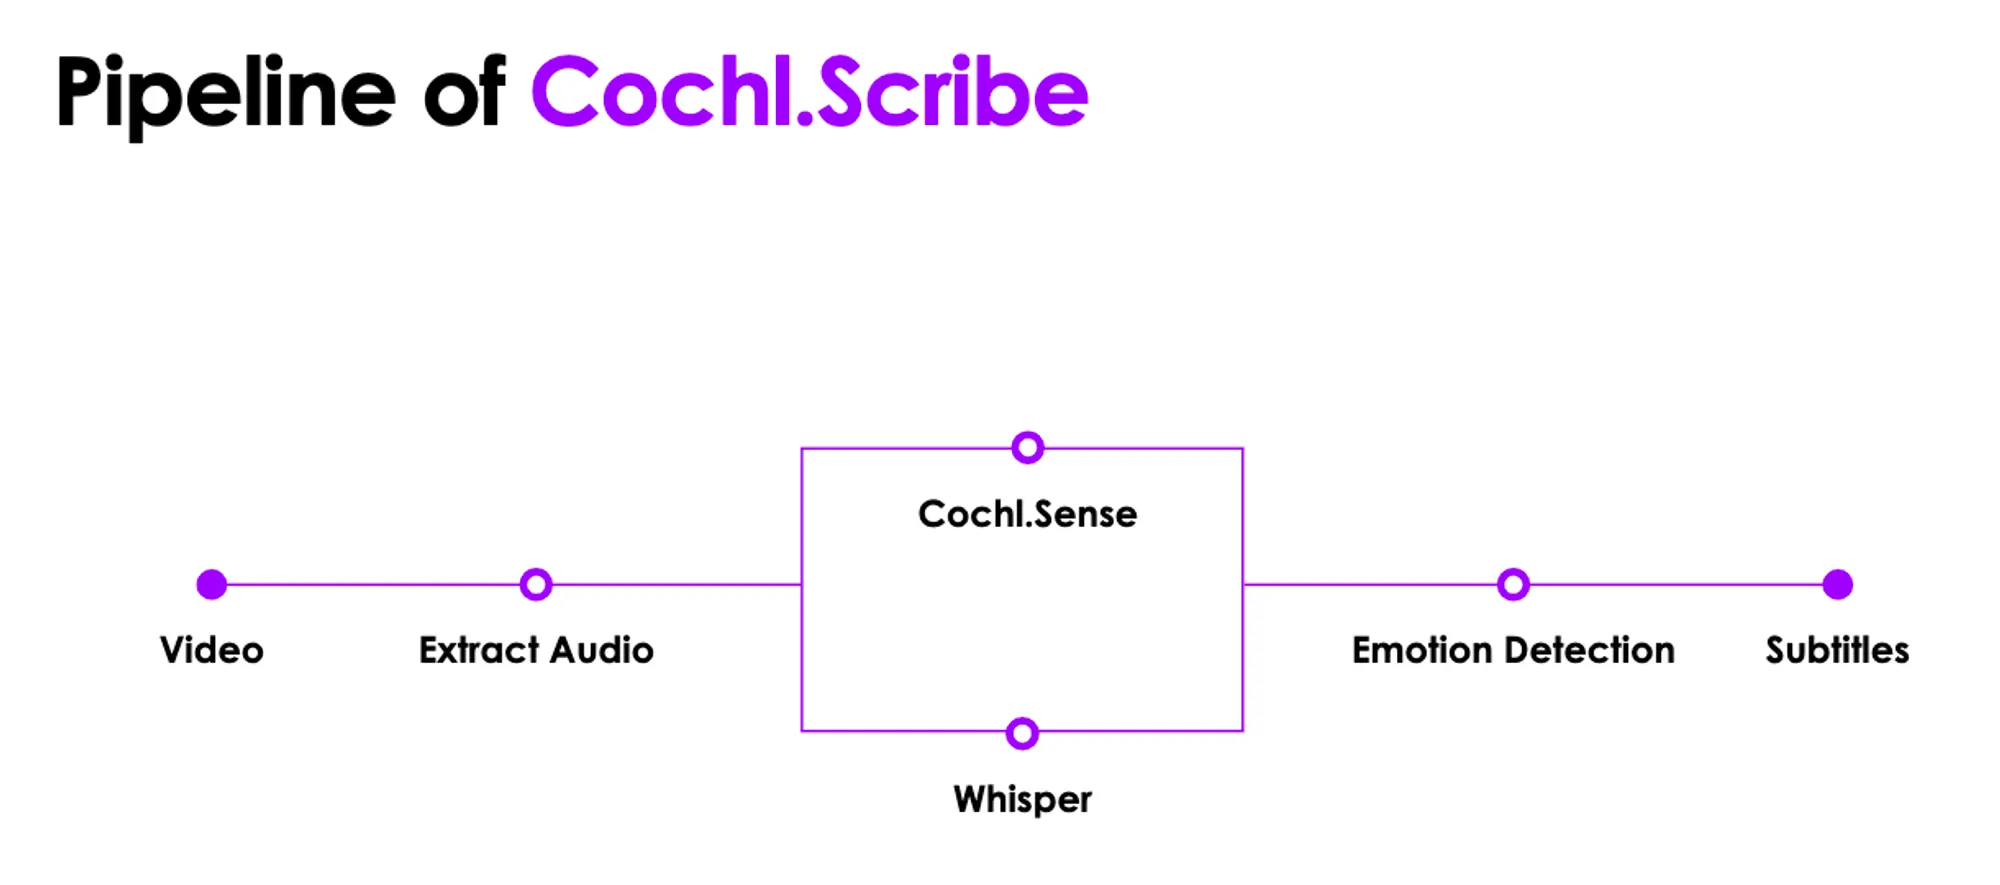
최종 파이프라인
입력 동영상에서 오디오 부분 추출
각 API에서 도출하는 결과 확인
하나의 데이터프레임 (특히 자막) 형태로 통합
통합된 자막 텍스트를 원하는 출력 형식에 맞게 반환
입력 동영상에서 오디오 부분 추출
각 API에서 도출하는 결과 확인
하나의 데이터프레임 (특히 자막) 형태로 통합
통합된 자막 텍스트를 원하는 출력 형식에 맞게 반환그럼 위 순서대로 진행해보겠습니다.
1. 입력 동영상에서 오디오 부분 추출
해당 플레이북에서 사용하는 API는 오디오를 기반으로 결과가 도출되어 비디오를 오디오의 형태로 변환해주는 과정이 필요합니다. 이를 수행하기 위해 FFmpeg라는 라이브러리를 활용하고자 합니다. 먼저 해당 라이브러리를 설치해줍니다.
pip install ffmpeg
Python
복사
이후 아래의 예제 코드를 따라 비디오에서 오디오를 추출해주는 코드를 작성해줍니다.
def extract_audio(input_file, output_file = './dataset/audio/extracted_audio.mp3'):
cmd = [
'ffmpeg',
'-i', input_file,
'-vn',
output_file
]
subprocess.run(cmd, input='y\n', text=True)
return output_file
Python
복사
2. 사용하고자 하는 API에서 도출 결과 확인
•
먼저 추출된 오디오 소스에 대해 결과를 도출하는 예제 코드를 활용하여 우리가 만들고자 하는 자동 자막 생성기의 결과 형식에 맞게 함수를 수정해줍니다.
def cochlSense(filename, api_key = './assets/api_key.json'):
with open(api_key, 'rb') as fr:
apifile = json.load(fr)
apikey = apifile['cochl_key']
configuration = sense.Configuration()
configuration.api_key['API_Key'] = apikey
client = sense.ApiClient(configuration)
api = sense_api.AudioSessionApi(client)
f = open(filename, "rb")
size = os.stat(filename).st_size
#create a new audio session
session = api.create_session(CreateSession(
content_type="audio/" + os.path.splitext(filename)[1][1:],
type=AudioType("file"),
total_size=size,
))
results_list = []
#upload file per 1Mib chunks
seq = session.chunk_sequence
while True:
chunk = f.read(2**20)
if not chunk:
break
encoded = base64.b64encode(chunk).decode("utf-8")
print("uploading")
uploaded = api.upload_chunk(session_id=session.session_id, chunk_sequence=seq, audio_chunk=AudioChunk(encoded))
seq = uploaded.chunk_sequence
# read inference result
next_token = ""
while True:
resp = api.read_status(session_id=session.session_id, next_token=next_token)
for result in resp.inference.results:
result_dict = result.to_dict()
print(json.dumps(result_dict))
results_list.append(result_dict)
if "next_token" in resp.inference.page:
next_token = resp.inference.page.next_token
else:
break
# list to json file
json_path = 'dataset/data/result_tags.json'
with open(json_path, 'w', encoding='utf-8') as json_file:
json.dump(results_list, json_file, ensure_ascii=False, indent=4)
# list to csv
keys = results_list[0].keys()
csv_path = 'dataset/data/result_tags.csv'
with open(csv_path, 'w', newline='', encoding='utf-8') as csv_file:
writer = csv.DictWriter(csv_file, fieldnames=keys)
writer.writeheader()
for row in results_list:
writer.writerow(row)
logging_print("CochlSense tags obtained.")
return csv_path, json_path
def speechMood(audio):
# If you want to change your extracted audio file, change the audio path below
audio_path = './dataset/audio/extracted_audio.mp3'
classifier = Speech_Emotion_Diarization.from_hparams(
source="speechbrain/emotion-diarization-wavlm-large"
)
diary = classifier.diarize_file(audio)
logging_print("Speech Mood tags obtained.")
return diary["audio_path"]
def whisper_result(audio_path, language = 'ko', api_keys = './assets/api_key.json'):
args = cli()
global result
# Get the huggingface user token
with open(api_keys, 'rb') as fr:
apifile = json.load(fr)
my_token = apifile['hf_token']
# whisperx inference options
options = dict(language=language, beam_size=5, best_of=5)
transcribe_options = dict(task="transcribe", **options)
# whisperx reference model inference
model = whisperx.load_model("large-v2", device=args.device, compute_type=args.compute_type)
audio = whisperx.load_audio(audio_path)
# Align whisperx output
result = model.transcribe(audio, batch_size=args.batch_size)
model_a, metadata = whisperx.load_align_model(language_code=result["language"], device=args.device)
result = whisperx.align(result["segments"], model_a, metadata, audio, device=args.device, return_char_alignments=False)
# if you want to speaker diarization, uncomment the following lines
'''
# Assign speaker labels
diarize_model = whisperxx.DiarizationPipeline(use_auth_token=my_token, device=args.device)
# add min/max number of speakers if known
diarize_segments = diarize_model(audio)
result = whisperxx.assign_word_speakers(diarize_segments, result)
'''
logging_print("Whisper results obtained.")
return result['segments']
Python
복사
•
이후 각 API에서 어떤 결과를 도출하는지 확인합니다. 각각의 API의 결과는 아래와 같습니다.
A. Cochl.Sense API 결과
- Cochl.Sense API 서버는 업로드된 오디오 데이터를 인식하고 해당 오디오에서 어떤 소리가 발생했는지 다음과 같은 형태로 알려줍니다. 다수의 태그가 동시에 인식될 수 있으며, 만약 인식되지 않은 경우 ‘others’라는 태그로 표현됩니다.
- Cochl.Sense가 인식할 수 있는 103가지 태그 종류는 여기서 확인해보세요.
{
"tags": [
{"probability": 0.5, "name": "Knock"},
{"probability": 0.5, "name": "Whistle"}
],
"start_time": 7.0,
"end_time": 8.0
}
Python
복사
tag가 2개 인식된 경우
{
"tags": [
{"probability": 0.0, "name": "Others"}
],
"start_time": 7.0,
"end_time": 8.0
}
Python
복사
tag가 인식되지 않은 경우
B. WhisperX API 결과 확인
WhisperX 모듈은 HuggingFace의 서버에서 반환된 결과를 받아오기 때문에 화자가 어떤 형식으로 말을 했는지에 대해 아래와 같이 설명해줍니다. Text > Text 내의 단어 순으로 구성이 되어 있어, 더 세부적으로 자막을 설정할 수 있습니다.
{
'start': 11.012,
'end': 12.657,
'text': "어디서든 체험해보세요.",
'words':
[
{
'word': "어디서든",
'start': 11.012,
'end': 11.412,
'score': 0.038
},
{
'word': "체험해보세요.",
'start': 11.472,
'end': 12.657,
'score': 0.075
}
]
}
Python
복사
C. SpeechBrain API 결과 확인
SpeechBrain의 Speech Recognition API는 HuggingFace의 서버로부터 모델의 결과를 아래와 같이 전달받게 됩니다. 해당 결과는 감정의 약어로 전달되며, 실제 자막으로 활용하기 위해서는 변환 코드를 작성해야 합니다.
{
'./dataset/audio/extracted_audio.mp3':
[
{'start': 0.0, 'end': 0.02, 'emotion': 'h'},
{'start': 0.02, 'end': 0.06, 'emotion': 'a'},
{'start': 0.06, 'end': 0.1, 'emotion': 'n'}
]
}
Python
복사
3. 하나의 자막 텍스트 형태로 통합
다음으로는 위 결과를 하나의 자막 텍스트 형태로 통합해야 합니다. 하지만 이를 위해서는 각 요소의 시작 시각과 종료 시각을 잘 맞춰주는 것이 좋겠죠? 이를 잘 처리하기 위해서 하나의 표 형태 (데이터프레임)로 통합시켜 관리해줄 것입니다.
아래는 이를 위한 예제 코드로 플레이북에서는 이 코드 그대로 수행해보도록 하겠습니다. 만약 가능하시다면, 본인의 상황에 맞게 수정하여 적용해보시면 원하시는 결과를 얻으실 수 있을 거예요!
def combine_results(speech_moods, sense_csv, whispers):
# Extract data from speech_moods
speech_mood_data = []
for mood in speech_moods:
start_time = mood['start']
end_time = mood['end']
emotion = mood['emotion']
speech_mood_data.append({
'start_time': start_time,
'end_time': end_time,
'emotion': emotion
})
# Extract data from sense_csv
sense_data = []
sense_df = pd.read_csv(sense_csv)
for idx, row in sense_df.iterrows():
start_time = row['start_time']
end_time = row['end_time']
tags = ast.literal_eval(row['tags'])
for tag in tags:
if 'Others' not in tag['name']:
sense_data.append({
'start_time': start_time,
'end_time': end_time,
'tag_name': tag['name']
})
# Extract data from whispers
whispers_data = []
for whisper in whispers:
start_time = whisper['start']
end_time = whisper['end']
text = whisper['text']
for sense_tag in sense_data:
if start_time >= sense_tag['start_time'] and end_time <= sense_tag['end_time']:
# Convert emotion code to text using emotion_to_text function
emotion_text = emotion_to_text(sense_tag['emotion'])
subtitle_text = f"[{emotion_text} {sense_tag['tag_name']}] <br> {text}"
whispers_data.append({
'start_time': start_time,
'end_time': end_time,
'text': subtitle_text
})
break
# Creating the combined_results DataFrame
combined_results = pd.DataFrame(whispers_data)
combined_results.reset_index(inplace=True)
combined_results.columns = ['index', 'start_time', 'end_time', 'subtitles']
return combined_results
Python
복사
이 과정을 완료하면 꼭 필요한 정보만을 포함한 하나의 통합 자료 형태가 만들어집니다. 이제, 자막으로 만들 수 있는 정보의 토대가 완성된 것이죠!
4. 통합된 자막 텍스트를 원하는 출력 형식에 맞게 반환하기
위에서 통합한 결과를 활용하여 하나의 자막을 만들어주면 자동 자막 생성기가 만들어집니다. 하지만, 모든 자막에는 지켜야 할 파일 형식이 존재합니다. 그 파일 형식에 따라 작성 방식도 달라지는데요, 마지막으로 각 파일 형식에 맞게 변환해주는 함수를 만들어 보겠습니다.
•
예제 코드
import os
def generate_smi(filename: str, subtitles: List[Tuple[float, float, str]], output_dir: str = "dataset/output/", lang: str = "ko"):
output_path = os.path.join(output_dir, filename)
with open(output_path, "w") as f:
f.write("<SAMI>\n")
f.write("<HEAD>\n")
f.write("<Title>Sample SMI file</Title>\n")
f.write("</HEAD>\n")
f.write("<BODY>\n")
for start_time, _, text in subtitles:
f.write(f"<SYNC Start={int(start_time * 1000)}>\n")
f.write(f"<P Class={lang}CC>{text}</P>\n")
f.write("</SYNC>\n")
f.write("</BODY>\n")
f.write("</SAMI>\n")
def matching_formats(subtitles, args):
if args.output_type == 'all':
generate_smi(args.output_path, subtitles)
generate_srt(args.output_path, subtitles)
generate_txt(args.output_path, subtitles)
elif args.output_type == 'smi':
return generate_smi(args.output_path, subtitles)
elif args.output_type == 'srt':
return generate_srt(args.output_path, subtitles)
elif args.output_type == 'txt':
return generate_txt(args.output_path, subtitles)
else:
raise ValueError(f"Invalid output type: {args.output_type}")
Python
복사
•
예제 코드 상세
A. 원하는 형식으로 파일을 작성해주는 함수
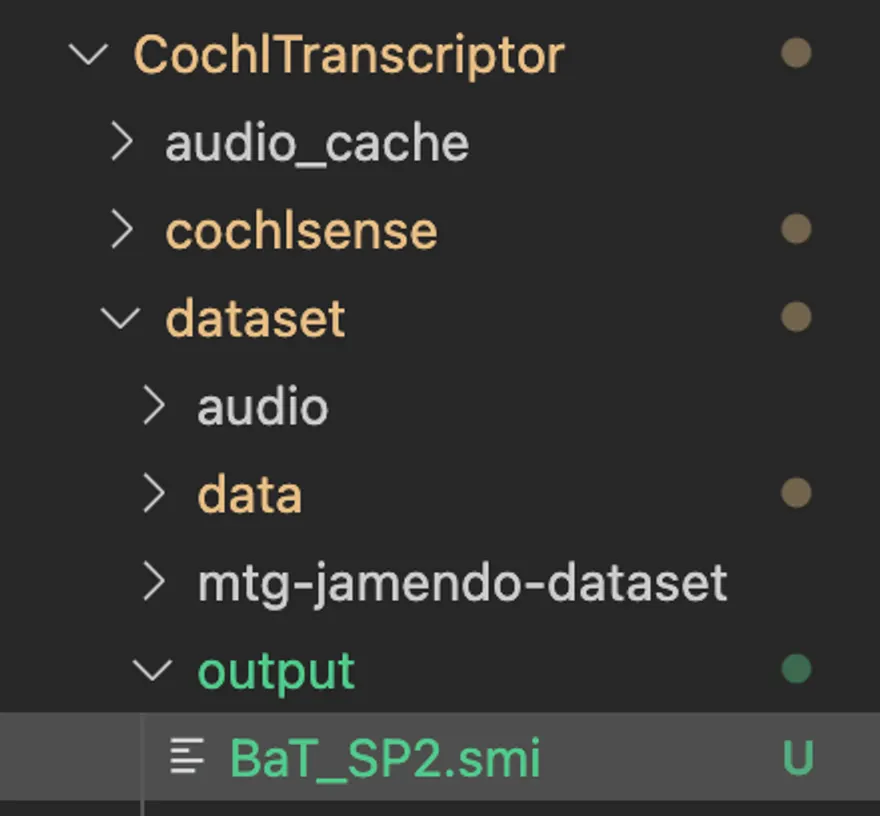
- 위 형식은 SRT, TXT 등 여러 형식에 맞게 함수를 바꾸어 설정할 수 있습니다. 해당 플레이북에서는 SMI 형태만 다루도록 하겠습니다.
def generate_smi(filename: str, subtitles: List[Tuple[float, float, str]], output_dir: str = "dataset/output/", lang: str = "ko"):
output_path = os.path.join(output_dir, filename)
with open(output_path, "w") as f:
f.write("<SAMI>\n")
f.write("<HEAD>\n")
f.write("<Title>Sample SMI file</Title>\n")
f.write("</HEAD>\n")
f.write("<BODY>\n")
for start_time, _, text in subtitles:
f.write(f"<SYNC Start={int(start_time * 1000)}>\n")
f.write(f"<P Class={lang}CC>{text}</P>\n")
f.write("</SYNC>\n")
f.write("</BODY>\n")
f.write("</SAMI>\n")
Python
복사
B. 출력 형식을 맞추는 함수
- 각 출력 형식에 맞는 값을 받아 그에 맞게 함수를 연결해주는 역할을 합니다.
def matching_formats(subtitles, args):
if args.output_type == 'all':
generate_smi(args.output_path, subtitles)
generate_srt(args.output_path, subtitles)
generate_txt(args.output_path, subtitles)
elif args.output_type == 'smi':
return generate_smi(args.output_path, subtitles)
elif args.output_type == 'srt':
return generate_srt(args.output_path, subtitles)
elif args.output_type == 'txt':
return generate_txt(args.output_path, subtitles)
else:
raise ValueError(f"Invalid output type: {args.output_type}")
Python
복사
My own Cochl.Scribe!
마지막 단계에 도달하셨습니다 여러분이 만든 모든 함수를 하나의 동작으로 통합하는 과정만이 남았습니다. 아래의 main 함수 예제를 통해 모든 함수를 하나의 동작으로 통합해보도록 하겠습니다. 그렇게 되면 하나의 파일 실행으로 간단하게 자동화가 가능해집니다!
여러분이 만든 모든 함수를 하나의 동작으로 통합하는 과정만이 남았습니다. 아래의 main 함수 예제를 통해 모든 함수를 하나의 동작으로 통합해보도록 하겠습니다. 그렇게 되면 하나의 파일 실행으로 간단하게 자동화가 가능해집니다!if name == "__main__":
try:
args = cli()
# Extracting audio from the video
audio = extract_audio(args.input_path)
# Getting WhisperX tags
whispers = whisper_result(audio)
# Getting SpeechBrain tags
speech_moods = speechMood(audio)
# Getting CochlSense tags
sense_tags, _ = cochlSense(audio)
# Transforming the CochlSense tags DataFrame
combined_results = combine_results(speech_moods, sense_tags, whispers)
# Writing subtitles
subtitles = generate_subtitles(combined_results, whispers, speech_moods)
# Writing the subtitles in the desired format
matching_formats(subtitles, args)
if args.visualize:
visualizer(subtitles, args) # Visualizing if the argument is provided
else:
logging_print("Transcript completed. No visualization.")
except Exception as e:
logging.error(f"An error occurred: {e}") # Logging any unexpected error
Python
복사
동작 예시
결과적으로 아래 자막 파일을 얻을 수 있습니다
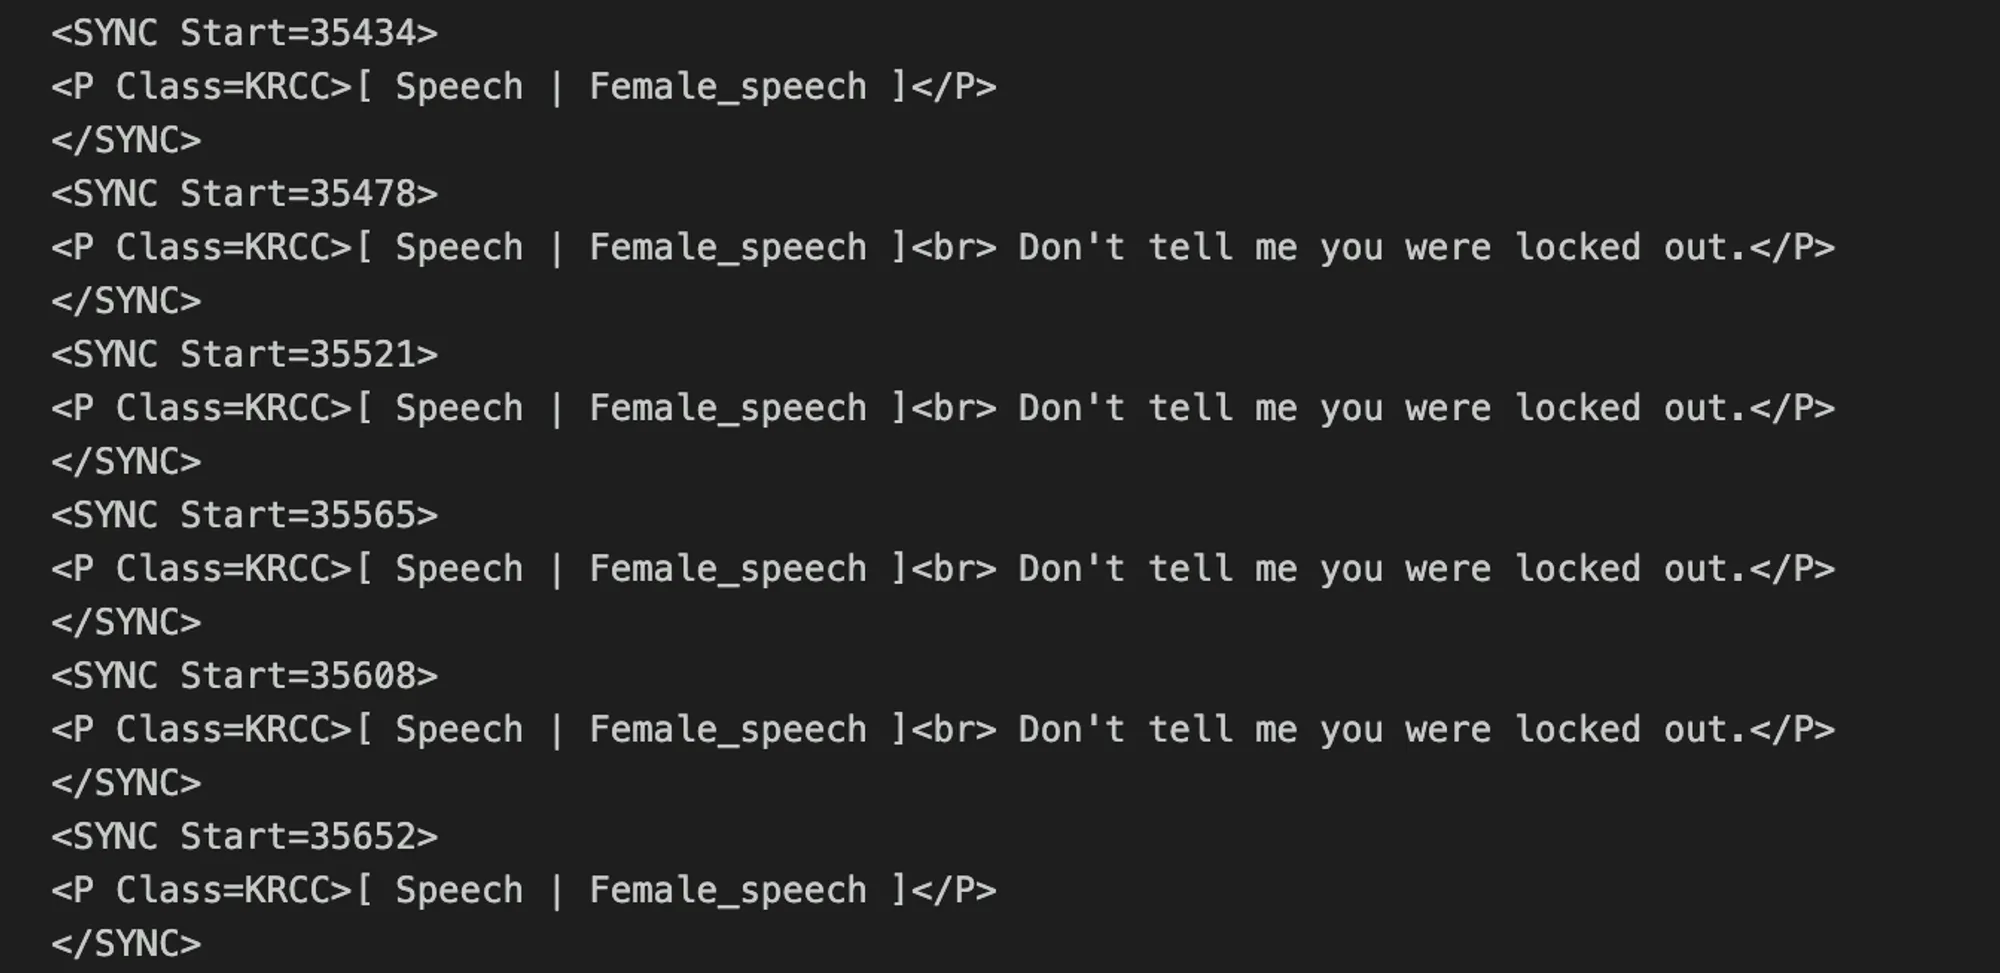
이를 실제 영상에 적용하면 다음과 같은 형태로 자막을 볼 수 있습니다. 이는 단순 적용만 했음에도 꽤 그럴싸한 정확도를 보여줍니다.
이번 플레이북에서는 Cochl.Sense API를 포함한 여러 API의 결과를 바탕으로 나만의 자막 생성기를 만들어 보았습니다
이제 여러분들이 만들고자 하는 툴이나 비즈니스 아이템을 Cochl.Sense API를 활용해 구현해 볼 차례입니다
이제 여러분들이 만들고자 하는 툴이나 비즈니스 아이템을 Cochl.Sense API를 활용해 구현해 볼 차례입니다 추가 적용 예시
물론 위와 같은 과정만으로도 충분히 활용 가능한 자동 자막 생성기를 만들 수 있지만, 조금 더 섬세한 처리 과정을 추가한다면 보다 더 깔끔한 자막을 얻을 수 있습니다. 하지만 이를 하나하나 다루기엔 시간이 오래 걸릴 수 있기에, 해당 플레이북에서는 제가 만들었던 모듈을 활용해보겠습니다.

위의 Github 페이지에 들어가서 해당 코드를 다운로드 후, 이를 실행하기 위한 커맨드는 아래와 같습니다.
$ git clone https://www.github.com/jwyeeh-dev/CochlScribe
$ cd CochlScribe
$ python cochlscribe.py -iv [input_video] -o [output_video] -ot [output_type]
Bash
복사
여러분도 원하시는 형태를 구현하시기 위해서나 혹은 더 성능을 높이기 위한 다양한 시도를 해보시는 것을 추천 드립니다!
마치며
Cochl.Scribe를 만들기 위한 모든 과정이 끝났습니다. 플레이북을 따라 해보는 건 어떠셨나요? 혹시 직접 다른 모델을 연동해보거나, Cochl.Sense를 이용해 본인만의 도구나 아이템을 만들어 보셨다면 저희에게도 보여주세요. Cochl의 플레이북은 여러분과 함께 만들어 나가고 있습니다
Cochl과 관련해 여러분의 호기심을 자극한 부분이 있다면 편하게 contact@cochl.ai 문을 두드려 주세요. 온라인, 오프라인으로 여러분을 만나고 싶어요!